Showing posts with label crafts. Show all posts

Wednesday, 25 May 2016

Embroidered Root Veggies by Veselka Bulkan

Felted Veggies Cling to Embroidery Hoops by Veselka Bulkan

veg-1
Munich-based artist Veselka Bulkan continues to craft these whimsical veggies that dangle from embroidery hoops. Each piece is an amalgam of embroidered leaves affixed to felted carrots, beets, radishes and other colorful roots. Bulkan sells many of her creations via her online shop, Little Herb Boutique, and you can see her process on Instagram. 

veg-2

veg-6

veg-4

veg-3

veg-5

veg-7
veg-8

Wednesday, 27 April 2016

DIY Watermelon Wall Art

Summer-Inspired Watermelon Wall Art

How to DIY Your Very Own Summer-Inspired Watermelon Wall Art
This post was originally featured on A Charming Project.
When I think of watermelon, I'm reminded of my childhood Summers. Every Summer, my mom would set up that long yellow slip and slide in our front yard, offer to watch all the neighborhood kids, and cut up watermelon for our afternoon snack. So you see, I couldn't pass up the opportunity to make a fun watermelon-themed project.
I really do love hand painting fruit decor because it's pretty easy, and we all know what fruits look like so there is very little instruction needed.
Things you will need:
  • White card stock
  • Scissors
  • Painter's tape
  • Martha Stewart craft paint in Pesto Green
  • Martha Stewart craft paint in Green Curry
  • Martha Stewart craft paint in Wedding Cake White
  • Martha Stewart craft paint in HabaƱero Red
  • Small square-shaped brush
  • Martha Stewart craft paint in Beetle Black
  • Black and white striped paper from Paper Source
  • White 8x10 frame

Monday, 18 April 2016

Crafts To Try Out This Weekend

Easy DIY Projects To Try This Weekend


If you’re looking for a way to spend everyone’s favorite two days feeling creative, rejuvenated and productive, have your hand at one of the easy DIY projects below.

Thursday, 24 March 2016

DIY Home Decor Ideas for Upycling

The Art of Upcycling: 7 DIY Home Decor Ideas


tools for diy home decor
DIY upcycling is an eco-friendly, inexpensive alternative to redecorating your home (topdreamer)
When it comes to decorating, it’s the little details that make a room – the pillow for a splash of color, the rug to pull the room together, the vase to add a modern touch. But buying new home decor is often expensive - and excessive, too. Upcycled, do-it-yourself home decor, on the other hand, are one-of-a-kind, singular pieces that reduce waste, save money, and greenify living spaces. With upcycling, used or discarded objects are recreated as unique home accessories - old wine barrels transform into bookcases, flip flops to floor mats, and skateboards to stools. Ready to get creative? Read on.   

1. THIS LAMP RECREATED FROM A BOTTLE

The perfect DIY project for wine-drinkers, this eclectic piece will bring a rustic feel to any living space.WHAT YOU’LL NEED: Lampshade, bulb, old wine bottle, engraving device or drill, wiring.
HOW IT’S DONE: With a diamond tipped drill or engraving device, create a hole near the base of the bottle. Run the appropriate wiring through the hole and connect with the lamp and bulb fixture.
lamp made from upcycled bottle is a diy home decor item
Add an energy-efficient bulb to make this lamp a truly eco-friendly home accessory (lanaredstudio)

2. THESE FRAMED MAPS

A creative way to preserve memories while upcycling old maps, you can even stitch your route for a trip down memory lane.WHAT YOU’LL NEED: Old road map, embroidery needle, embroidery thread, frame
HOW IT’S DONE: Cut the map to fit the frame and then use the needle to poke holes in the map along your route. Using a backstitch, sew along the route, finishing with an X at your destination.
Framed upcycled map as a diy home decor idea
You can also use old maps, instead of a regular mat, to add a quirky border to any picture (marthastewart)

3. THIS BULLETIN BOARD MADE FROM AN OLD DRAWER

Salvage old drawers with this quirky bulletin board that will make a practical and colorful addition to a bedroom, office space, or kitchen area.WHAT YOU’LL NEED: Old drawer, corkboard, colorful paper
HOW IT’S DONE: Cut the corkboard to fit inside of the drawer and glue in place. Cover with colorful paper and hang on the wall.
Upcycled bulletin board as a diy home decor idea
This hanging drawer can also double as a display mantel. Add some decorative items to the bottom frame for an extra touch (bhg)

 4. THIS PILLOW REPURPOSED FROM WORN T-SHIRTS

It’s time to clean out your closet and get rid of the mountain of old t-shirts you never use. Instead, repurpose them as soft, sentimental pillows.WHAT YOU’LL NEED: Old t-shirts, rotary cutter, ruler, sewing machine, thread
HOW IT’S DONE: Cut the fabric to the desired size, allowing for 1/4-inch seams. Sew the sides together, leaving an opening to fill. Use filling to stuff your pillow, and then sew it closed. Push the filling to the bottom of the pillow and feed the unfinished edge through the sewing machine.
Upcycled pillow from tshirt is a diy home decor idea
T-shirt pillows make great gifts! Try it out with a shirt of your friend's top band, college mascot, or favorite colors (diynetwork)

5. THESE CANDLES MADE USING OLD TEACUPS

If you’re looking for something to do with the ancient collection of inherited tea cups, these candles are a great way to light up your home and preserve antiques.WHAT YOU’LL NEED: Teacup, candle wax, candle wick, old metal bowl, saucepan, scissors
HOW IT’S DONE: Combine the candle wax with water and melt over low heat. Position the candle wick in the center of the teacup and slowly ladle the melted wax into the cup, filling to the rim.
Teacup upcycled as candle is a diy home decor idea
This is also a great idea for mugs or cups with cracks in them. Instead of throwing them out, make a candle! (popsugar)

6. THESE COASTERS MADE FROM UPCYCLED DENIM

It’s time to put your old jeans to use and create one-of-a-kind, durable coasters that will protect your surfaces from heat and water.WHAT YOU’LL NEED: Old jeans, scissors, fabric glue
HOW IT’S DONE: Cut away the inside, outside, and bottom seams of the jeans and trim them so they are all around the same width. Place a dot of glue at one end of the same and roll, place a line of glue along the denim while working. Continue rolling and adding new lengths of seam until you have a four-inch-round coaster.
Upcycled coaster made from denim is a diy home decor idea
With the leftover fabric, try your hand at crocheting a handmade denim rug (popsugar)

 7. THESE BOOKENDS THAT WERE ONCE VINYL RECORDS

If you’re looking for a nice way to display your neglected vinyl record collection, these bookends bring a pop of vintage to your bookshelf.WHAT YOU’LL NEED: Two vinyl records, kettle or pot for boiling, flat-bottomed heat resistant container
HOW IT’S DONE: Boil enough water to allow an inch of water in your container. Dip about 1/4 of the record into the hot water. The vinyl bends easily once it heats up. Bend the record so it forms a 90 degree angle and let cool.

Upcycled bookends made from vinyl records are diy home decor ideas
Because vinyl records melt so easily, there's a lot you can make with them. Try this bowl next! (instructables)

Saturday, 20 February 2016

Urban Street Walls by Pantanio

Flowing Swarms of Animals on Urban Walls by Pantonio

pantonio-1
Portuguese street artist Antonio Correia aka Pantonio depicts fluid swarms of fish, birds, and other creatures as they interweave dramatically on the sides of buildings. His use of black and blue paint to form sinuous lines evoking water or muscle lends a distinct sense of motion to each piece as it cascades several stories down the sides of a building or through a room. The Lisbon-based artist often portrays creatures found in the Tagus river that flows through Portugal including sardines, cod, octopus, as well as ropes and boats. You can see more of Pantonio’s recent work on Global Street Art, or on Illusion.
pantonio-2
pantonio-3
pantonio-4
pantonio-5
pantonio-6
pantonio-7
pantonio-8
pantonio-9
pantonio-10

Monday, 15 February 2016

Popsicle Stick DIYs which you gonna Love

19 Popsicle Stick DIYs That Are Actually Awesome


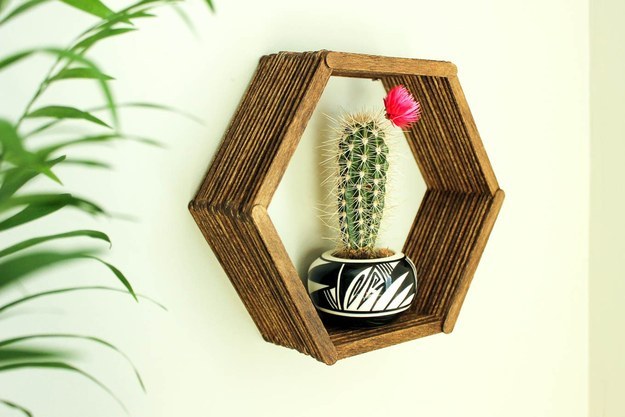
1. This hexagonal shelf for your most precious of knick knacks:

This hexagonal shelf for your most precious of knick knacks:
Jess / Make & Do Crew / Via makeanddocrew.com
Check out how to make one here.

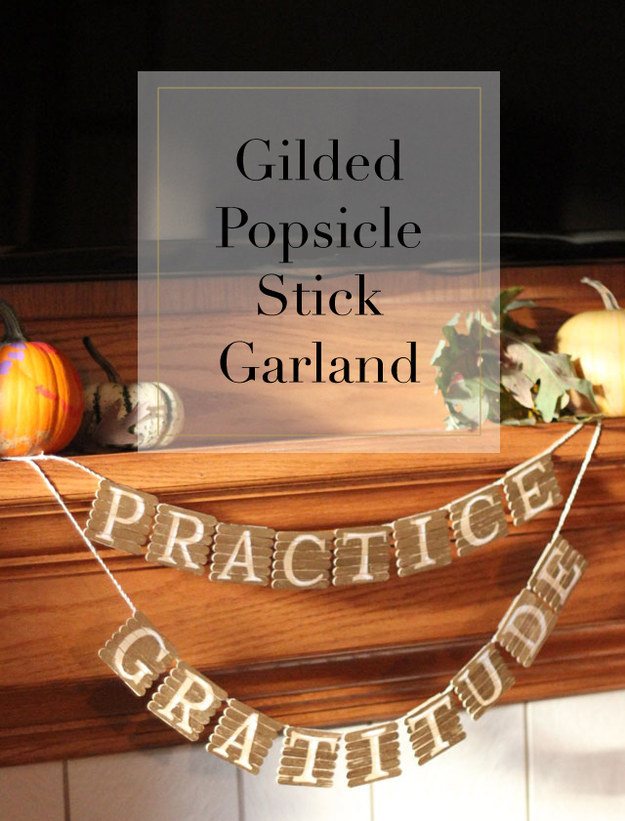
2. This garland for all your important messages:

This garland for all your important messages:
M.J. / Pars Caeli / Via parscaeli.com
Learn to gild one for yourself here.

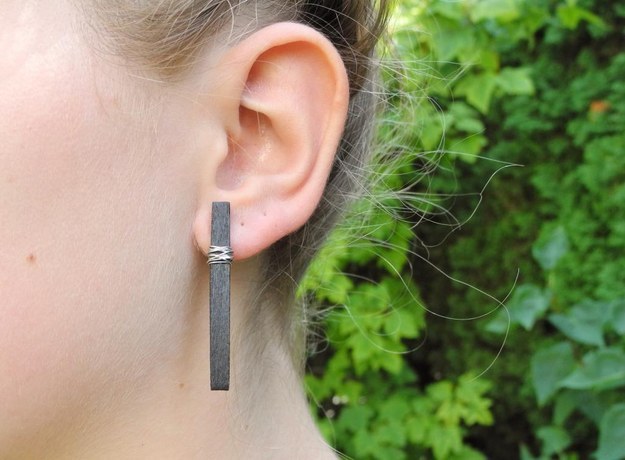
3. Cut up some minimalist earrings like these:

Cut up some minimalist earrings like these:
Baisley & Noir / Via baisleyandnoir.blogspot.com
Oh so modern. Check out the how-to Here.

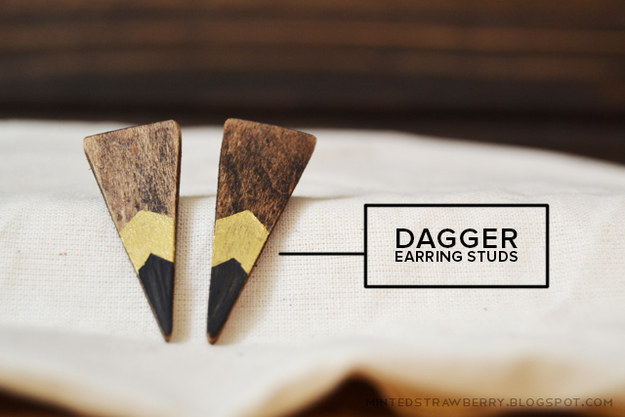
4. Or get a bit edgier with these pointed studs:

Or get a bit edgier with these pointed studs:
Aki / Minted Strawberry / Via mintedstrawberry.blogspot.com
They almost resemble pencil points, no? Get the guide here.

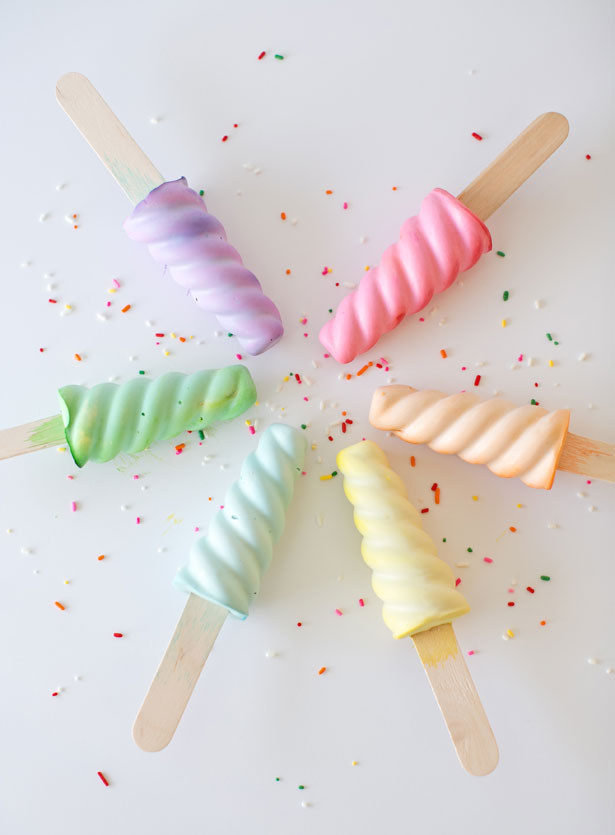
5. Make your own sidewalk chalk that look freaking delicious:

Make your own sidewalk chalk that look freaking delicious:
Agnes Hsu / Via hellowonderful.co
Just don’t lick ‘em. Learn to make these here.

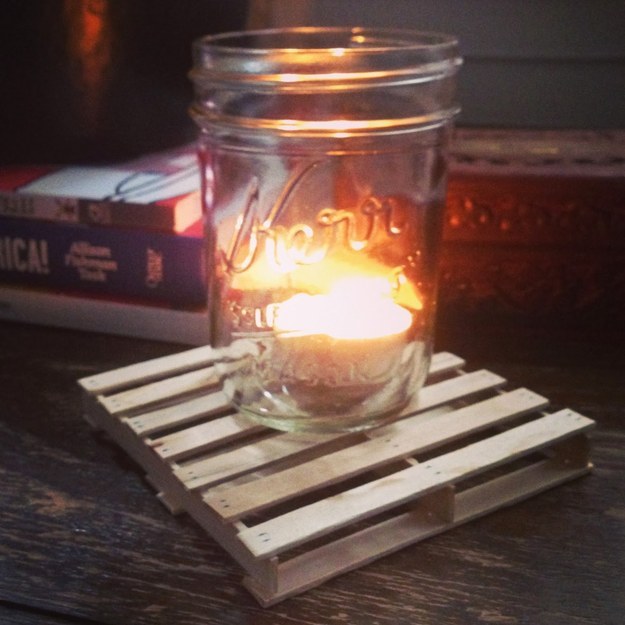
6. Pile some sticks into mini pallet coasters:

Pile some sticks into mini pallet coasters:
Andrew and Dennis / Crafty Lumberjacks / Via craftylumberjacks.blogspot.com
Perfect for your industrial strength cocktails. Check out how here.

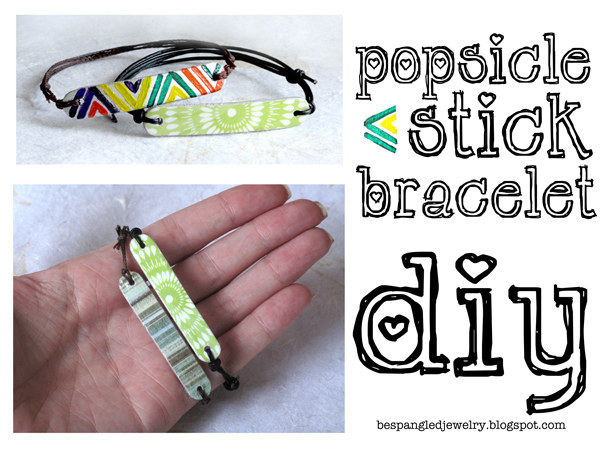
7. Upcycle your sticks into some fun bracelets:

Upcycle your sticks into some fun bracelets:
Jessica Barst / Via bespangledjewelry.blogspot.com
The world of popsicle-based jewelry is your oyster. More inspiration here.

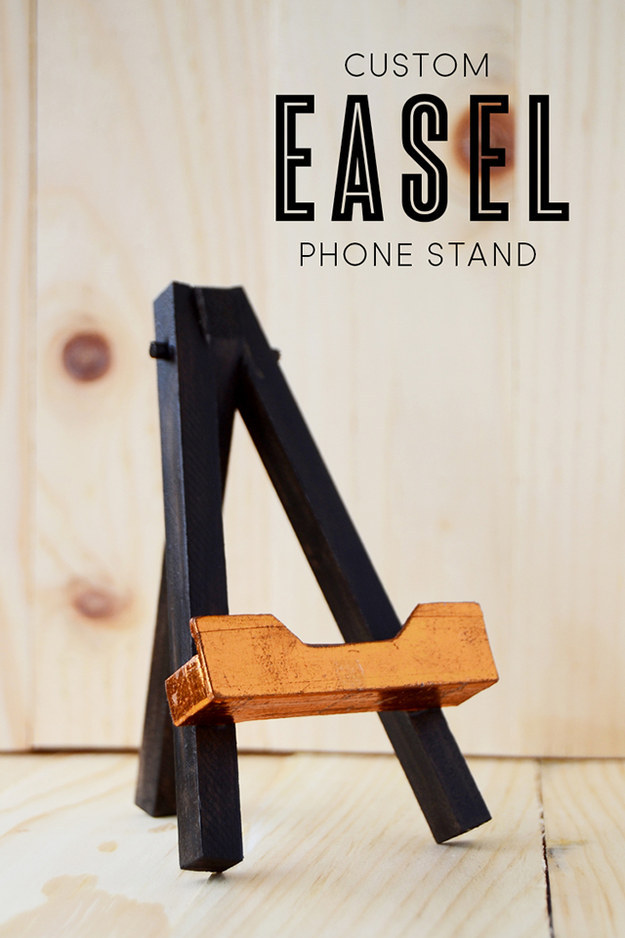
8. Create your own custom easel phone stand:

Create your own custom easel phone stand:
Aki / Minted Strawberry / Via bespangledjewelry.blogspot.com
Give your artsiest Instagrams the display they deserve. Get the step-by-step guide Here.

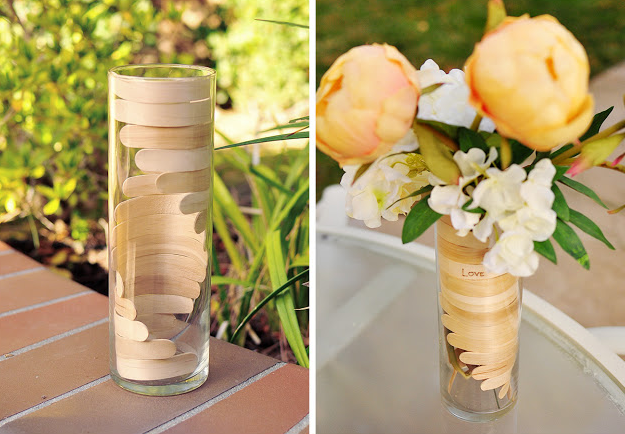
9. Warp some sticks into an elegant flower vase:

Warp some sticks into an elegant flower vase:
The Cheese Thief / Via thecheesethief.com
Popsicle sticks are surprisingly flexible when just wet enough. Learn this delicate science here.

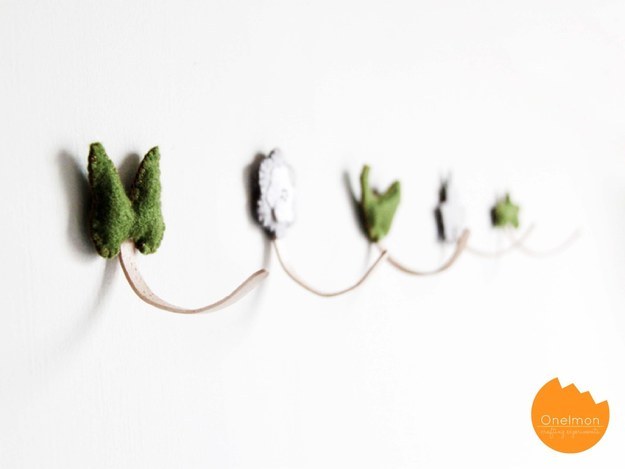
10. Or into dainty wall hooks:

Or into dainty wall hooks:
Onel / Onelemon / Via onelmon.com
Complete with adorable felt butterflies and flowers! Learn to make them here.

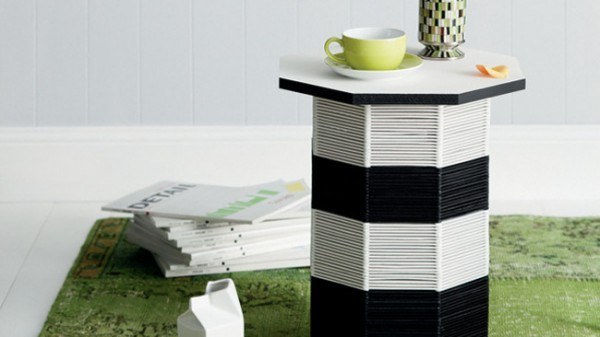
11. Get a whole bunch and make your very own end table:

Get a whole bunch and make your very own end table:
Craig Wall / Via homelife.com.au
Take THAT, Anthropologie. Get the guide to making your own here.

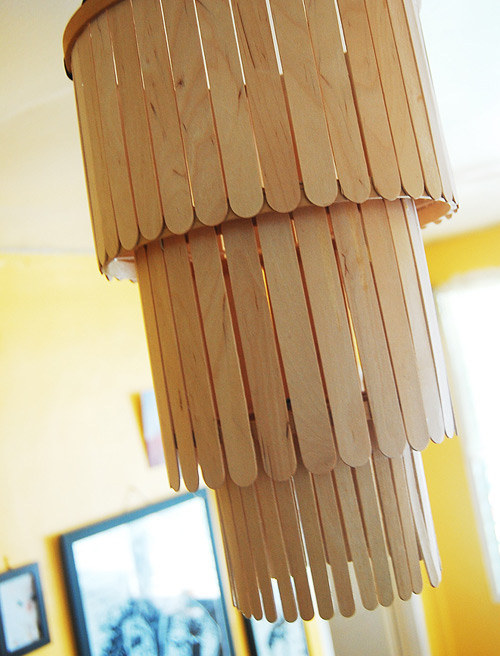
12. Or hang them as a one-of-a-kind chandelier:

Or hang them as a one-of-a-kind chandelier:
Kate Pruitt / Via designsponge.com
Cheapest chandelier ever. Learn how to make it here.

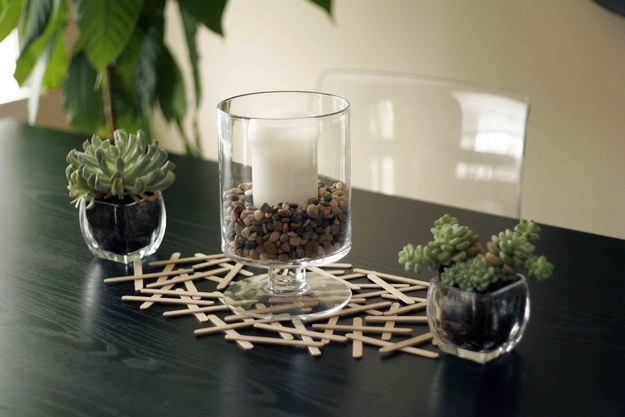
13. This creative table is runner is ridiculously easy to make:

This creative table is runner is ridiculously easy to make:
Beverley Jenkins / Via allputtogether.com
And still classy AF. Make one on your own with help from here.

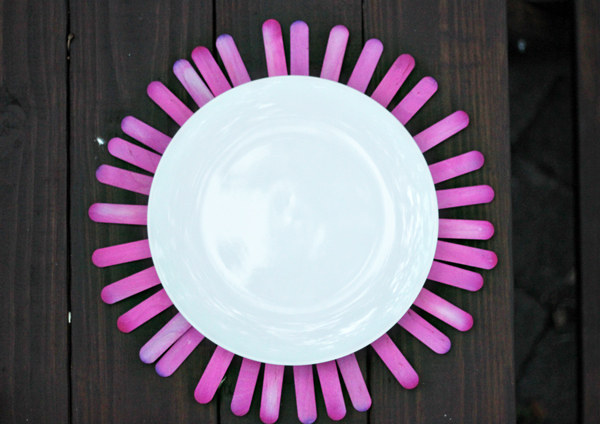
14. Or give your plates a glorious popsicle stick glow:

Or give your plates a glorious popsicle stick glow:
Carmen Taylor Rogge / Via theflairexchange.com
Use food coloring for an easy gradient effect. Check out how here.

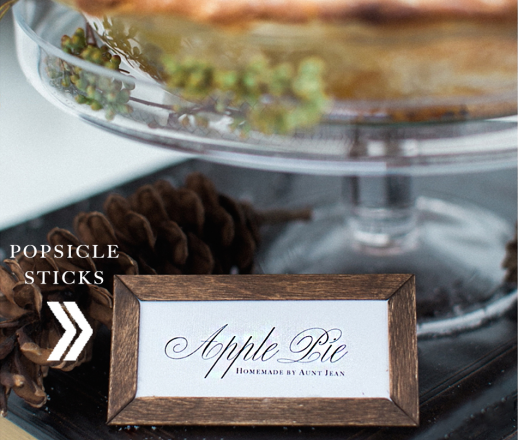
15. Piece together a tiny and lovely frame for menu cards.

Piece together a tiny and lovely frame for menu cards.
Jenn / Build Basic / Via build-basic.com
Instantly up your hosting game. Get the simple steps here.

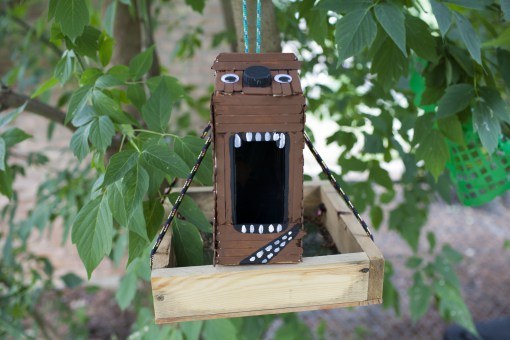
16. Feel the force with your own wookie birdhouse:

Feel the force with your own wookie birdhouse:
Make Great / Via makegreat.wordpress.com
Put an empty milk or juice carton to good use. Instructions here.

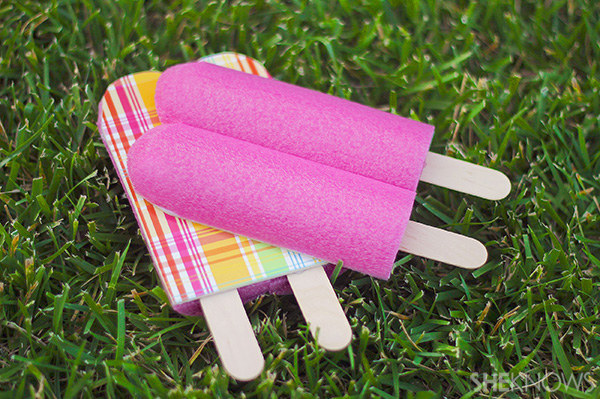
17. Re-create the popsicle effect with these summery postcards:

Re-create the popsicle effect with these summery postcards:
Sandra Denneler / Via sheknows.com
Or string them together into a yummy party garland. Learn to upcycle some pool noodles here.

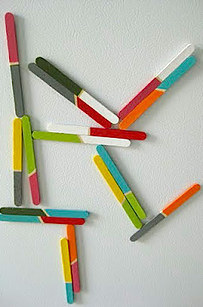
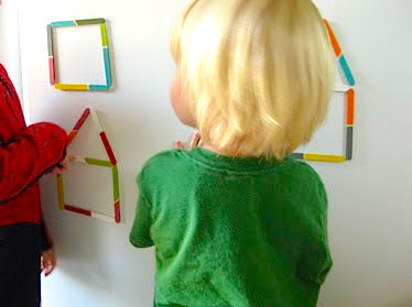
18. Make your own set of uniquely designed magnets:

Brook / Pure and Noble / Viapureandnoble.blogspot.com
Brooke / Pure and Noble / Via pureandnoble.blogspot.com
 
As functional as they are fun. Get the simple instructions here.

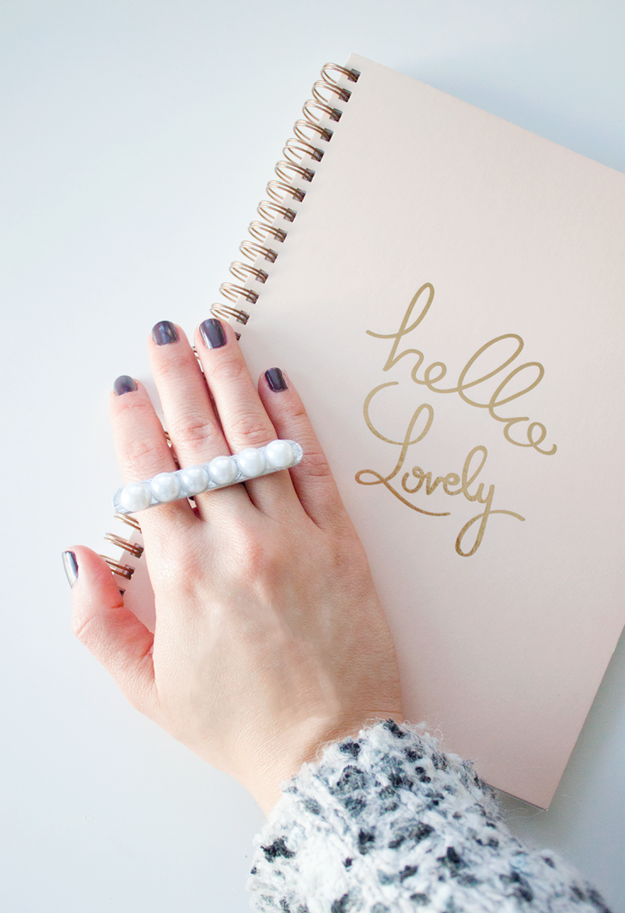
19. Upgrade your pearls with this popsicle stick statement ring:

Upgrade your pearls with this popsicle stick statement ring:
Vickie / Adventures in Fashion / Via adventuresinfashion.ca
Simple elegance is always in style. Learn to make your own here.